View Navigator
QiTissue has the ability to load in and display very large images. The View Navigator provides a small overview of the entire image with a rectangle indicating the current Field of View (FOV). Click Reset View to restore full view of the image.
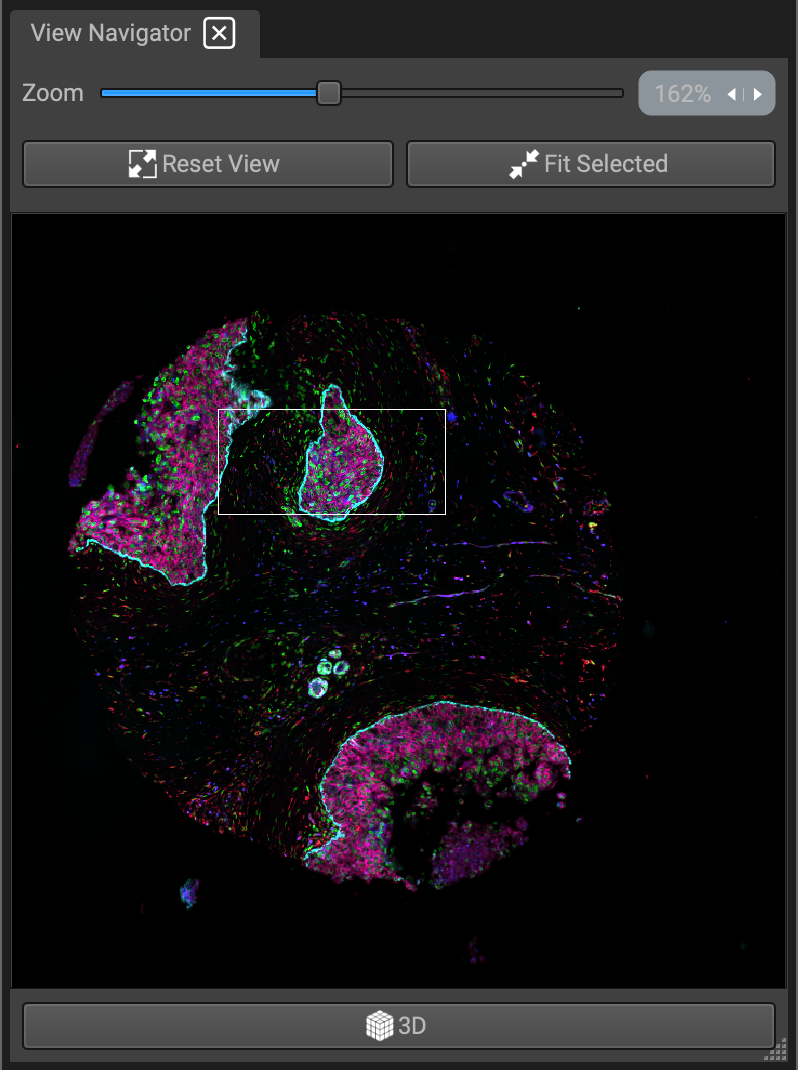
The white rectangle in the View Navigator display itself is draggable, so you can directly move it to a region of interest.
Clicking Fit Selected will either reset the view to the entire image (Reset View button does this as well), or zoom into any selected cell boundary that has been outlined.
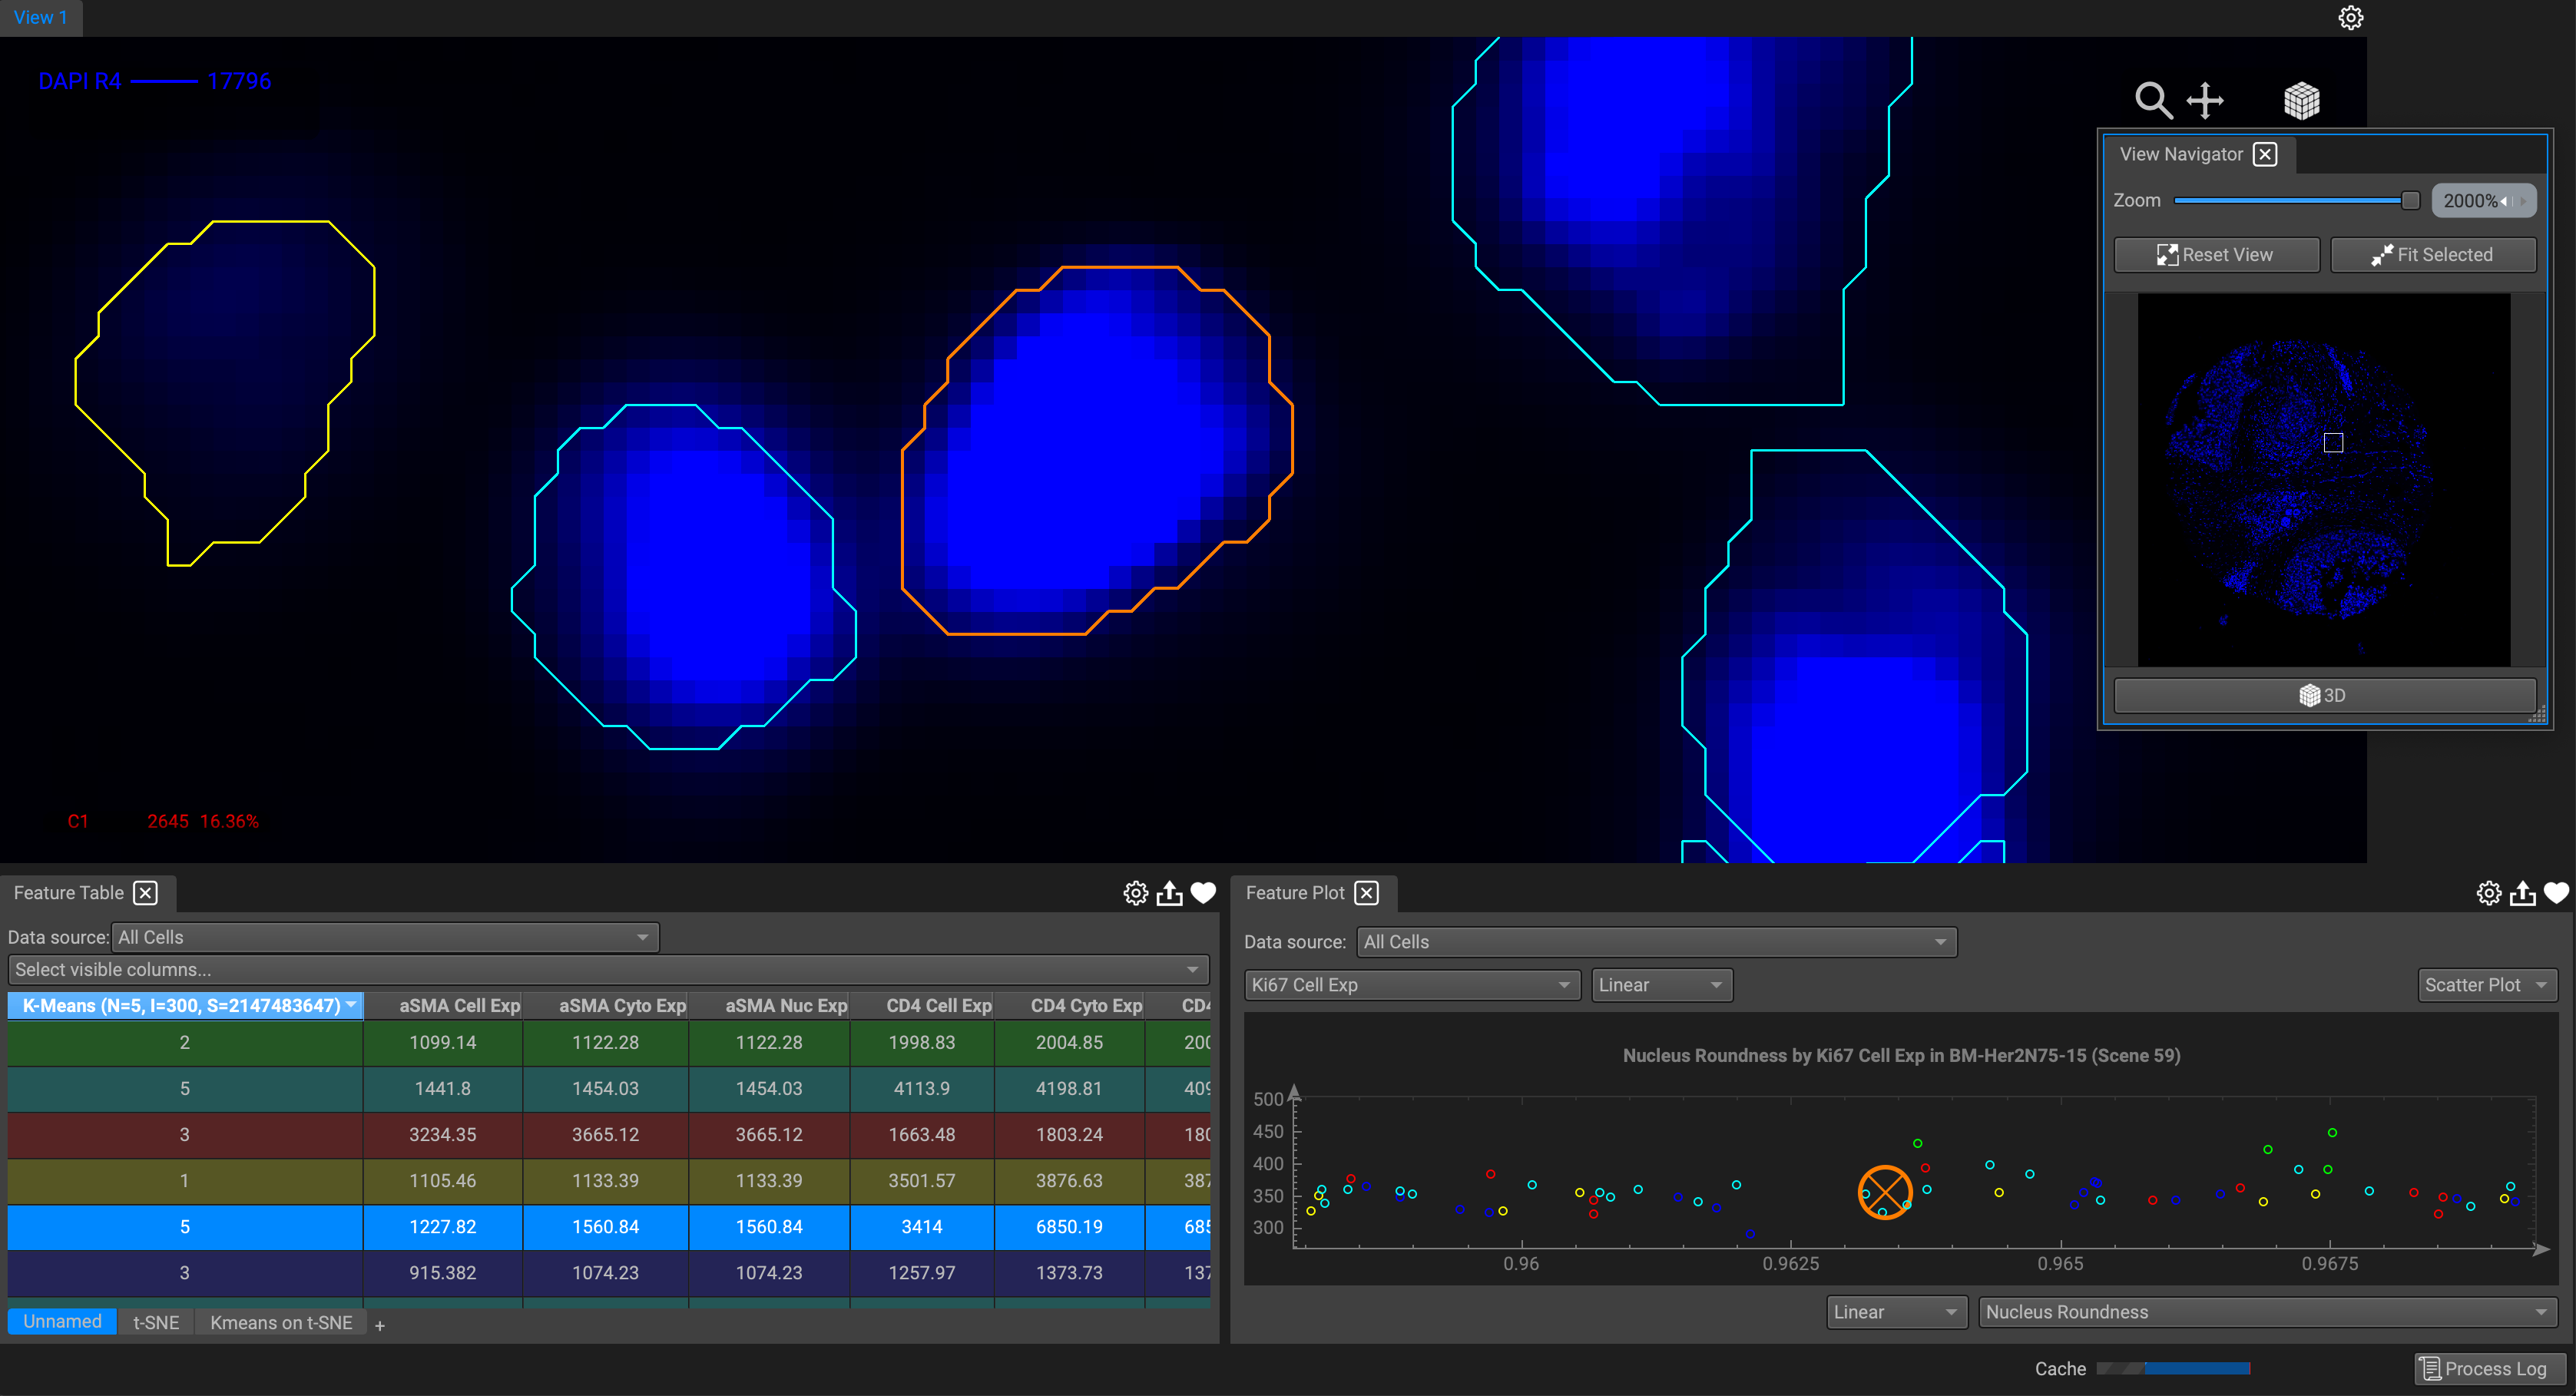
You can dynamically interact with other widgets while taking advantage of this feature, such as the Feature Table and Feature Plot. Just click on a row in the table, or a data point in the plot, and then on "Fit Selected." Selecting the cell outline on the Image View will instantly jump to the corresponding table row or highlight the scatter plot point.
Adjusting Field of View
You can adjust the FOV in several ways:
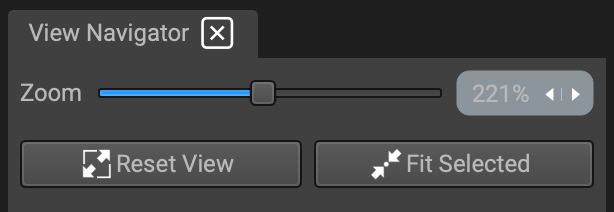
The zoom scale slider (located at the top). Just drag the slider left or right, or simply use the mouse wheel to zoom in and out.
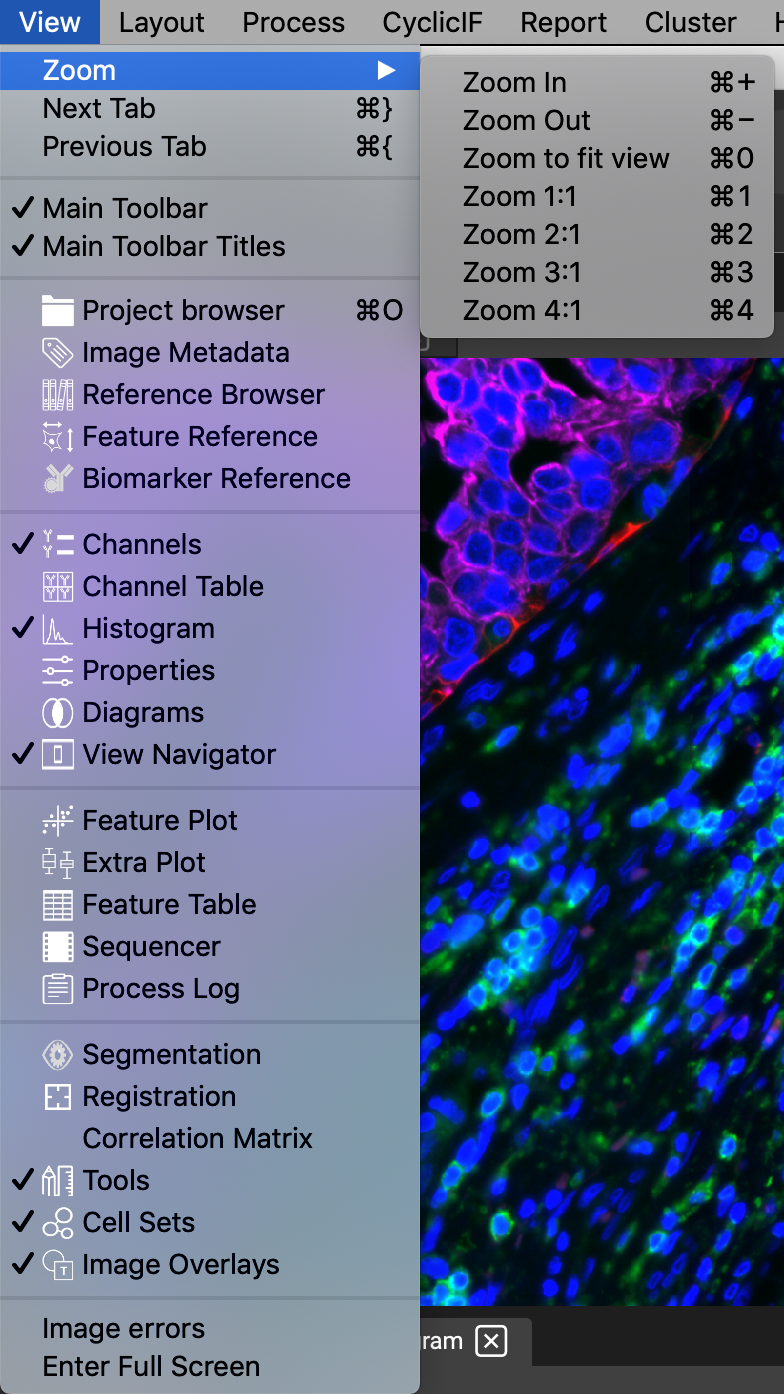
Keyboard shortcuts can be found in the File menu under View → Zoom.
Navigation icons are located on the top right of the Image View. Only the first two are useable in 2D mode. Click and drag the magnifying glass up or down to zoom in and out (or drag and hold Ctrl + Alt/Command). Click and drag the second icon to move along the x and y axis (or drag and hold Alt/Command).

The effect of dragging both icons in 2D is shown below:
Trackpad gestures (Note that these must be unlocked in QiTissue → Preferences → Touch Interface only functions on a multi-touch trackpad)
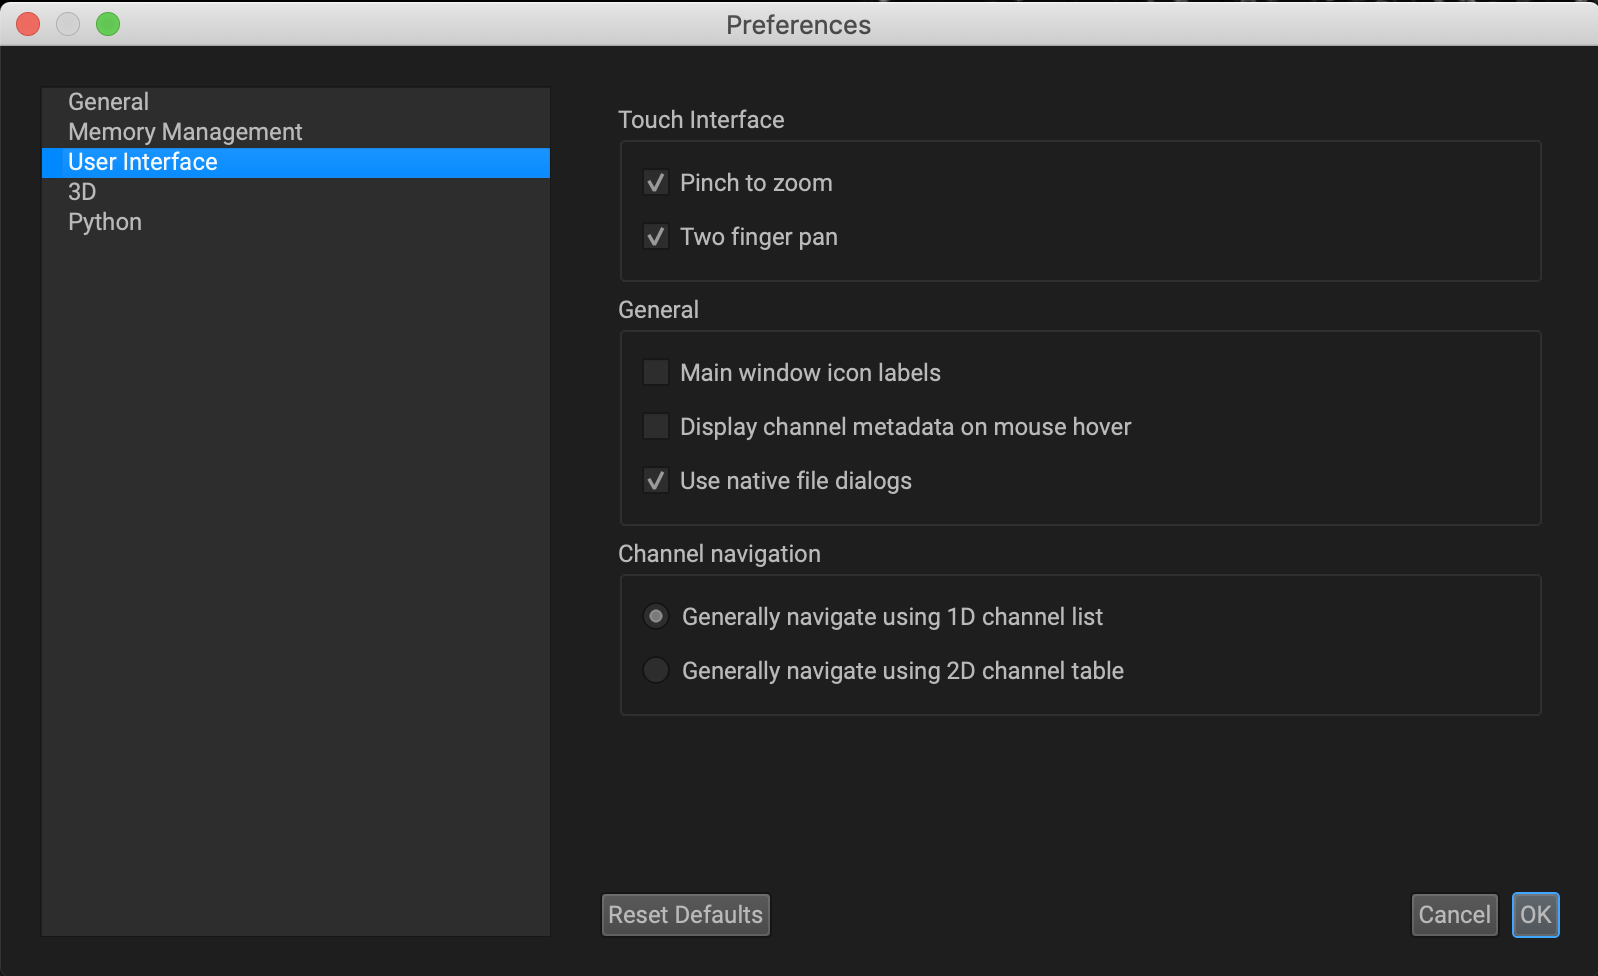
To zoom along the z plane, pinch the trackpad. To pan along the x and y axes, hold two fingers on the trackpad and drag to move your FOV.
3D Mode and Height-Maps
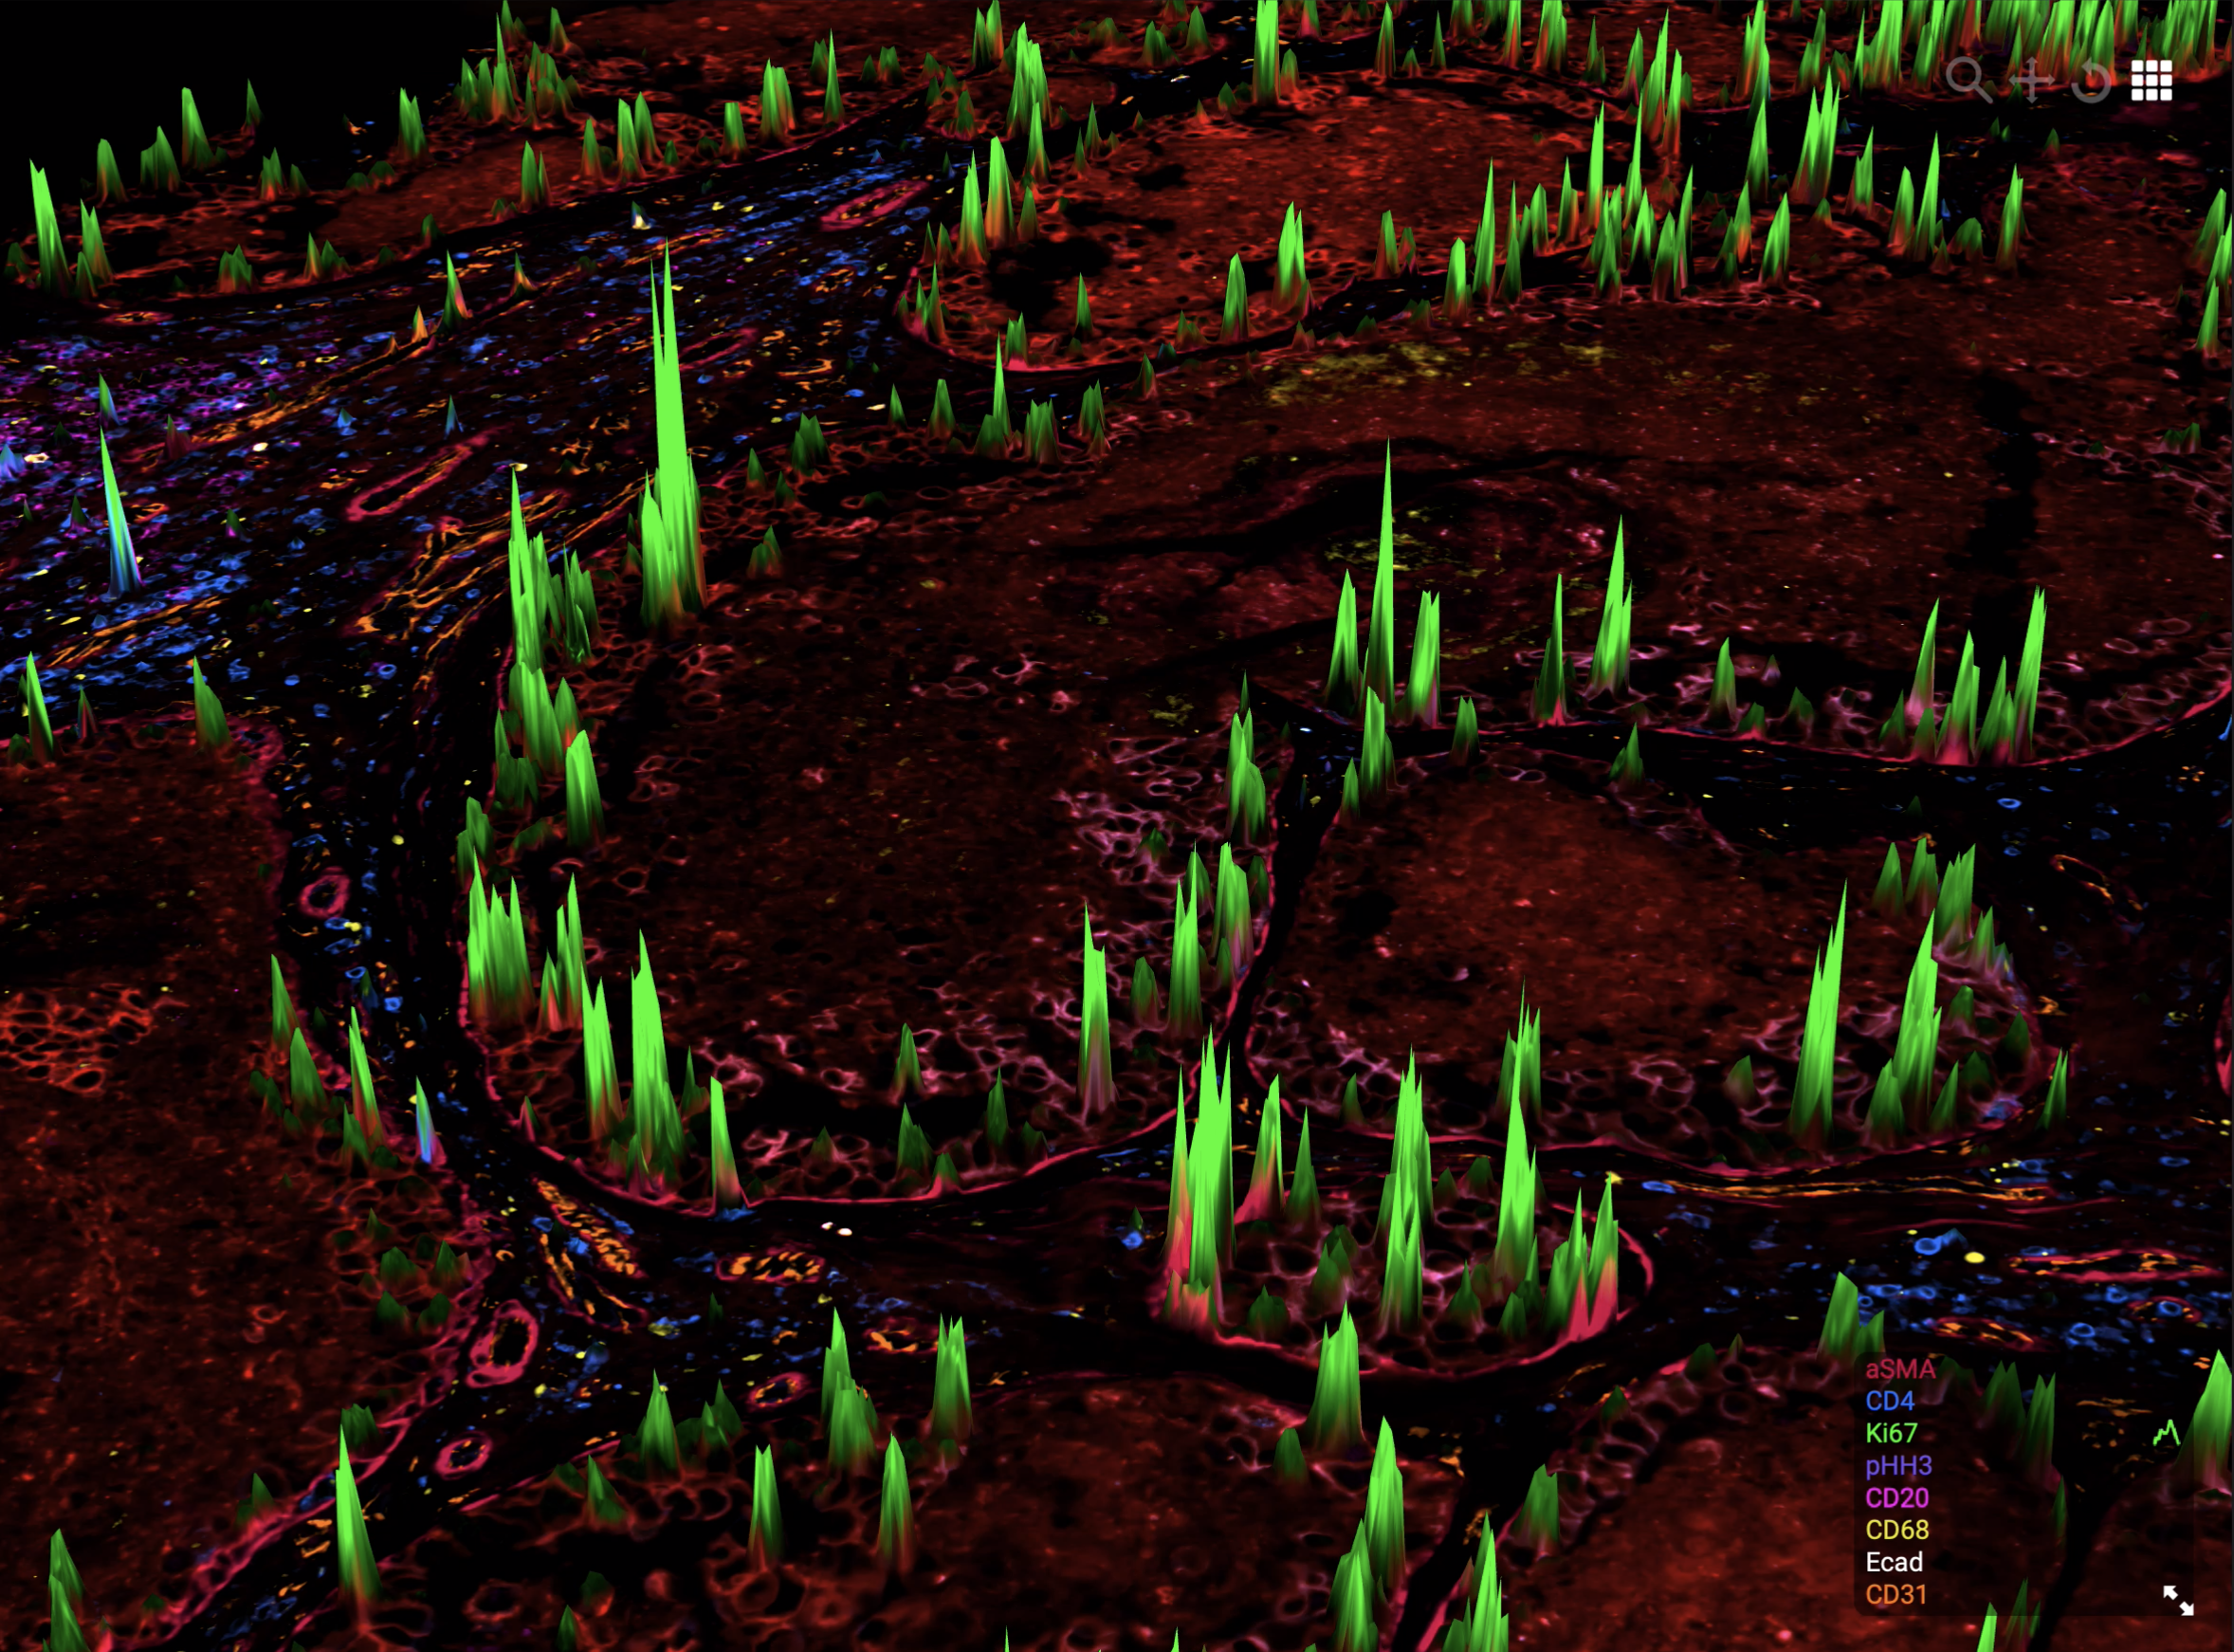
3D exploration of an image is a semi-novel method for identifying heterogeneous specs. The feature which stands out in this view mode is the height-map. The height-map translates biomarker intensity into a scalable height. Spending time exploring the landscape of an image can provide a spatial context for the biological sample and help derive new, meaningful insights. Combine color channel blinking, image filtering, and other processing functions to create truly stunning perspectives.
You can use any images you generate to modulate the landscape. For example, augment a computed channel, such as cell density or distance maps, on top of the existing biomarker stains. This sequence can show mountains indicating T cells infiltrating a tumor, or point out where B cells and T cells are in close proximity to each other. These are novel ways to visualize high dimensionality data.
While in 3D mode, you can also rotate your camera viewpoint by clicking and dragging the rotating arrow icon on the top right of an image.
Each effect in 3D mode is shown below:
As you become more proficient, you can utilize additional keyboard shortcuts. Hold down Alt/Command+Drag to move along the image. You can also hold Ctrl+Alt+Drag to zoom in and out, and hold Alt/Command+Shift+Drag (or mouse right-click + drag) to tumble when in 3D mode.
Some text showing these shortcuts appears at the bottom left of the screen whenever your cursor is hovering along the View image.
Wobble Effects
Transitioning to 3D mode unlocks a wobble camera animation. You can toggle the effect only when viewing your image in 3D. This can be useful to increase your field of view from a single vantage point and highlight subtle differences in staining pattern expression.
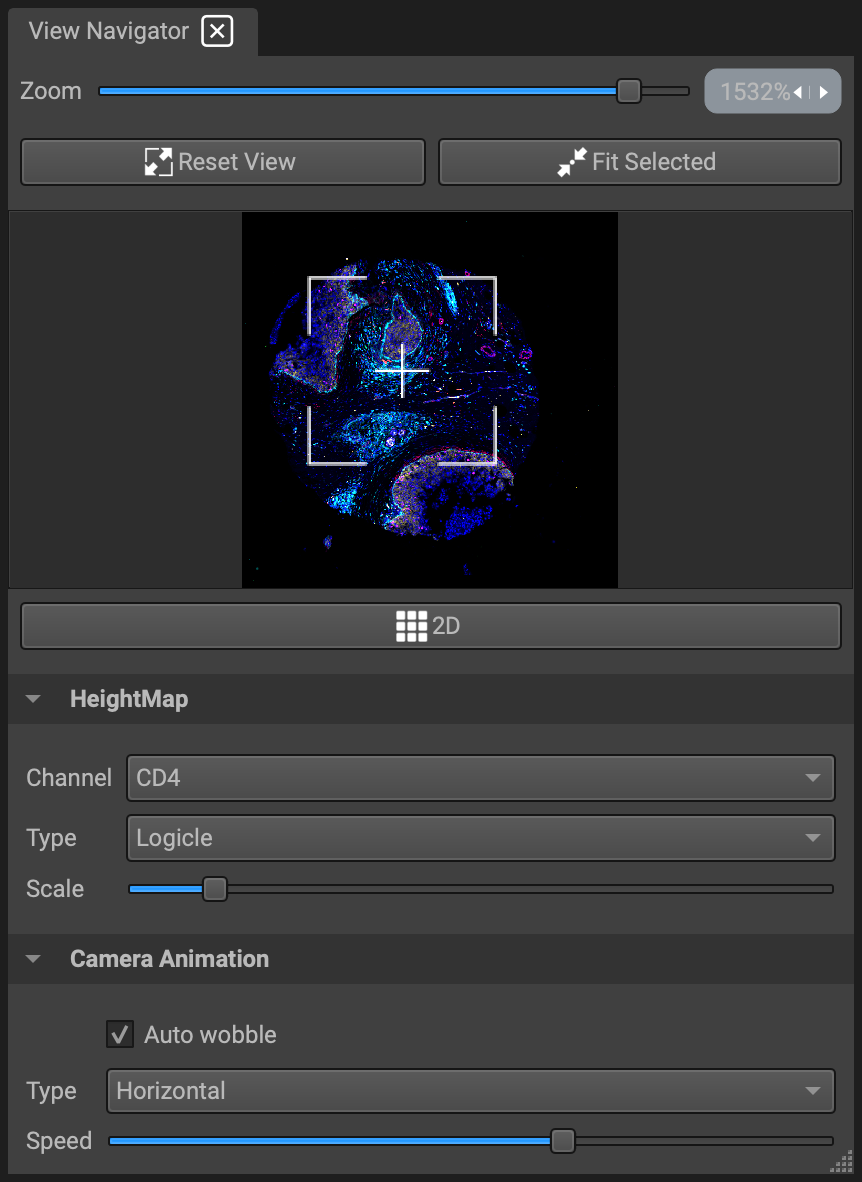
To toggle the effect, click on the "Auto wobble" checkbox under the Camera Animation section in the View Navigator. You can choose between three different wobble motions from the dropdown menu: horizontal, vertical, and circular. Below are brief demonstrations for each one.
Multiple Image Views
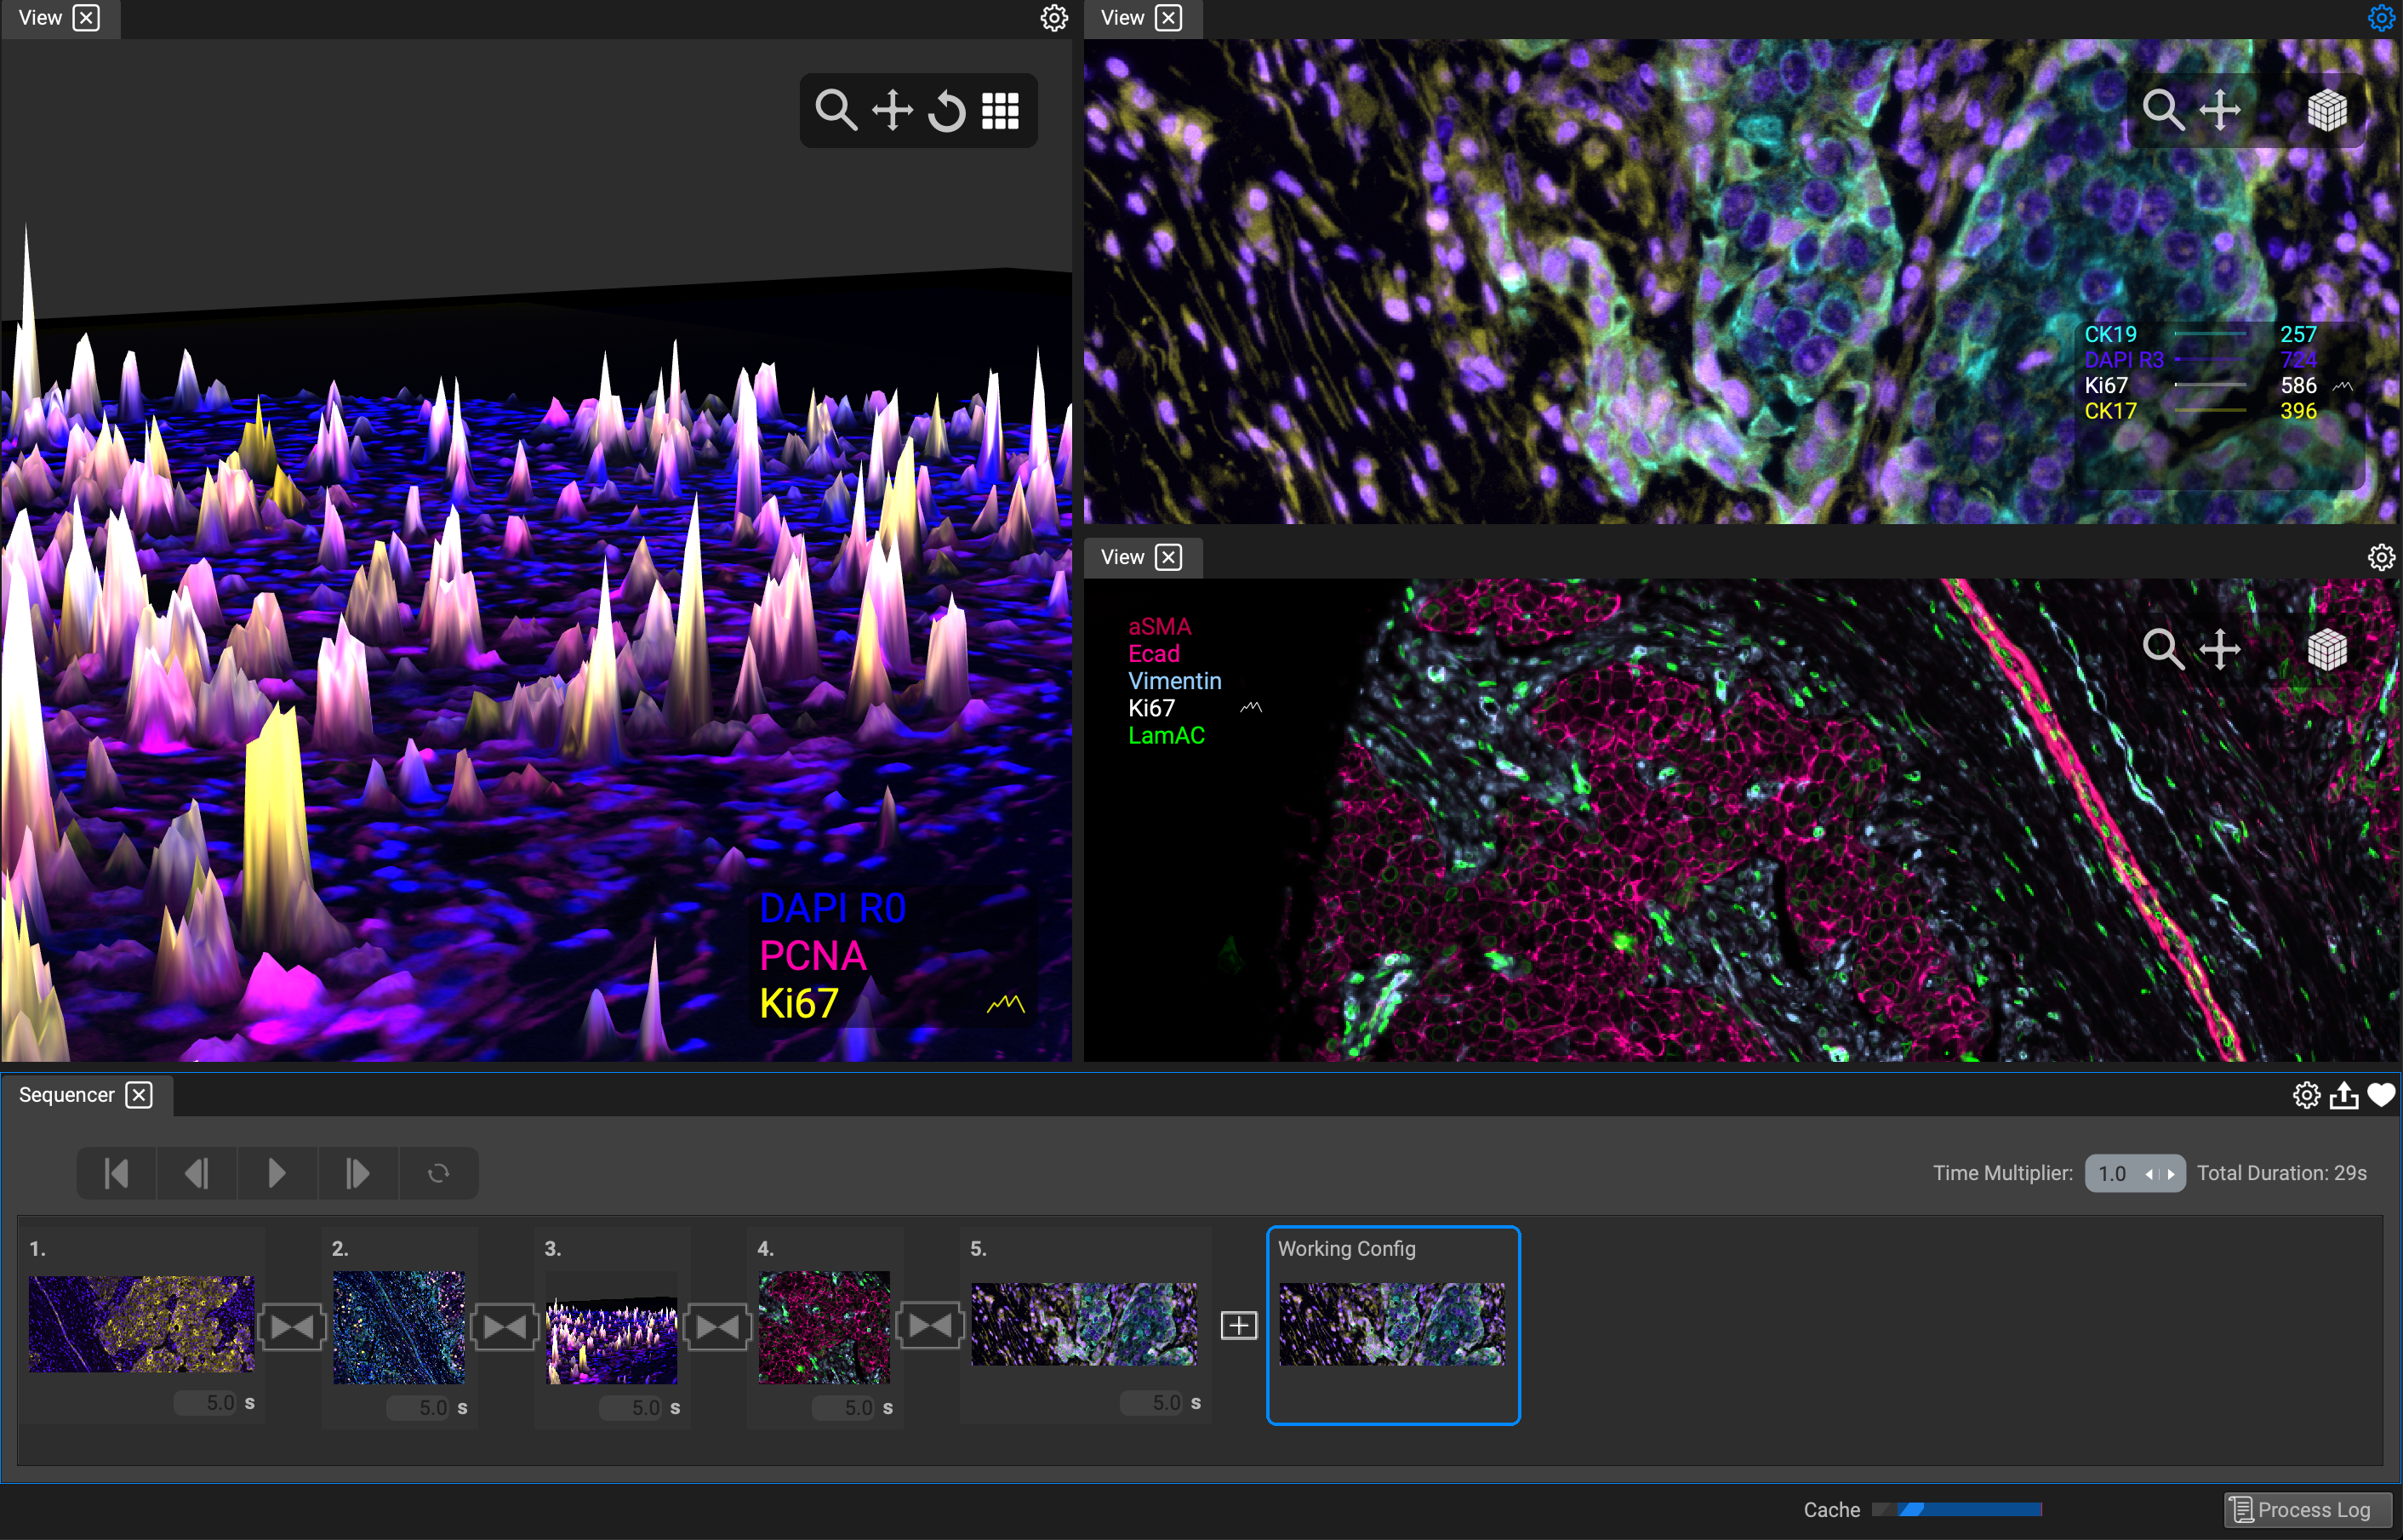
The Image View can be split up into multiple views for convenience. This way you can see different perspectives simultaneously, and add scenes to the sequencer from each one into one timeline.
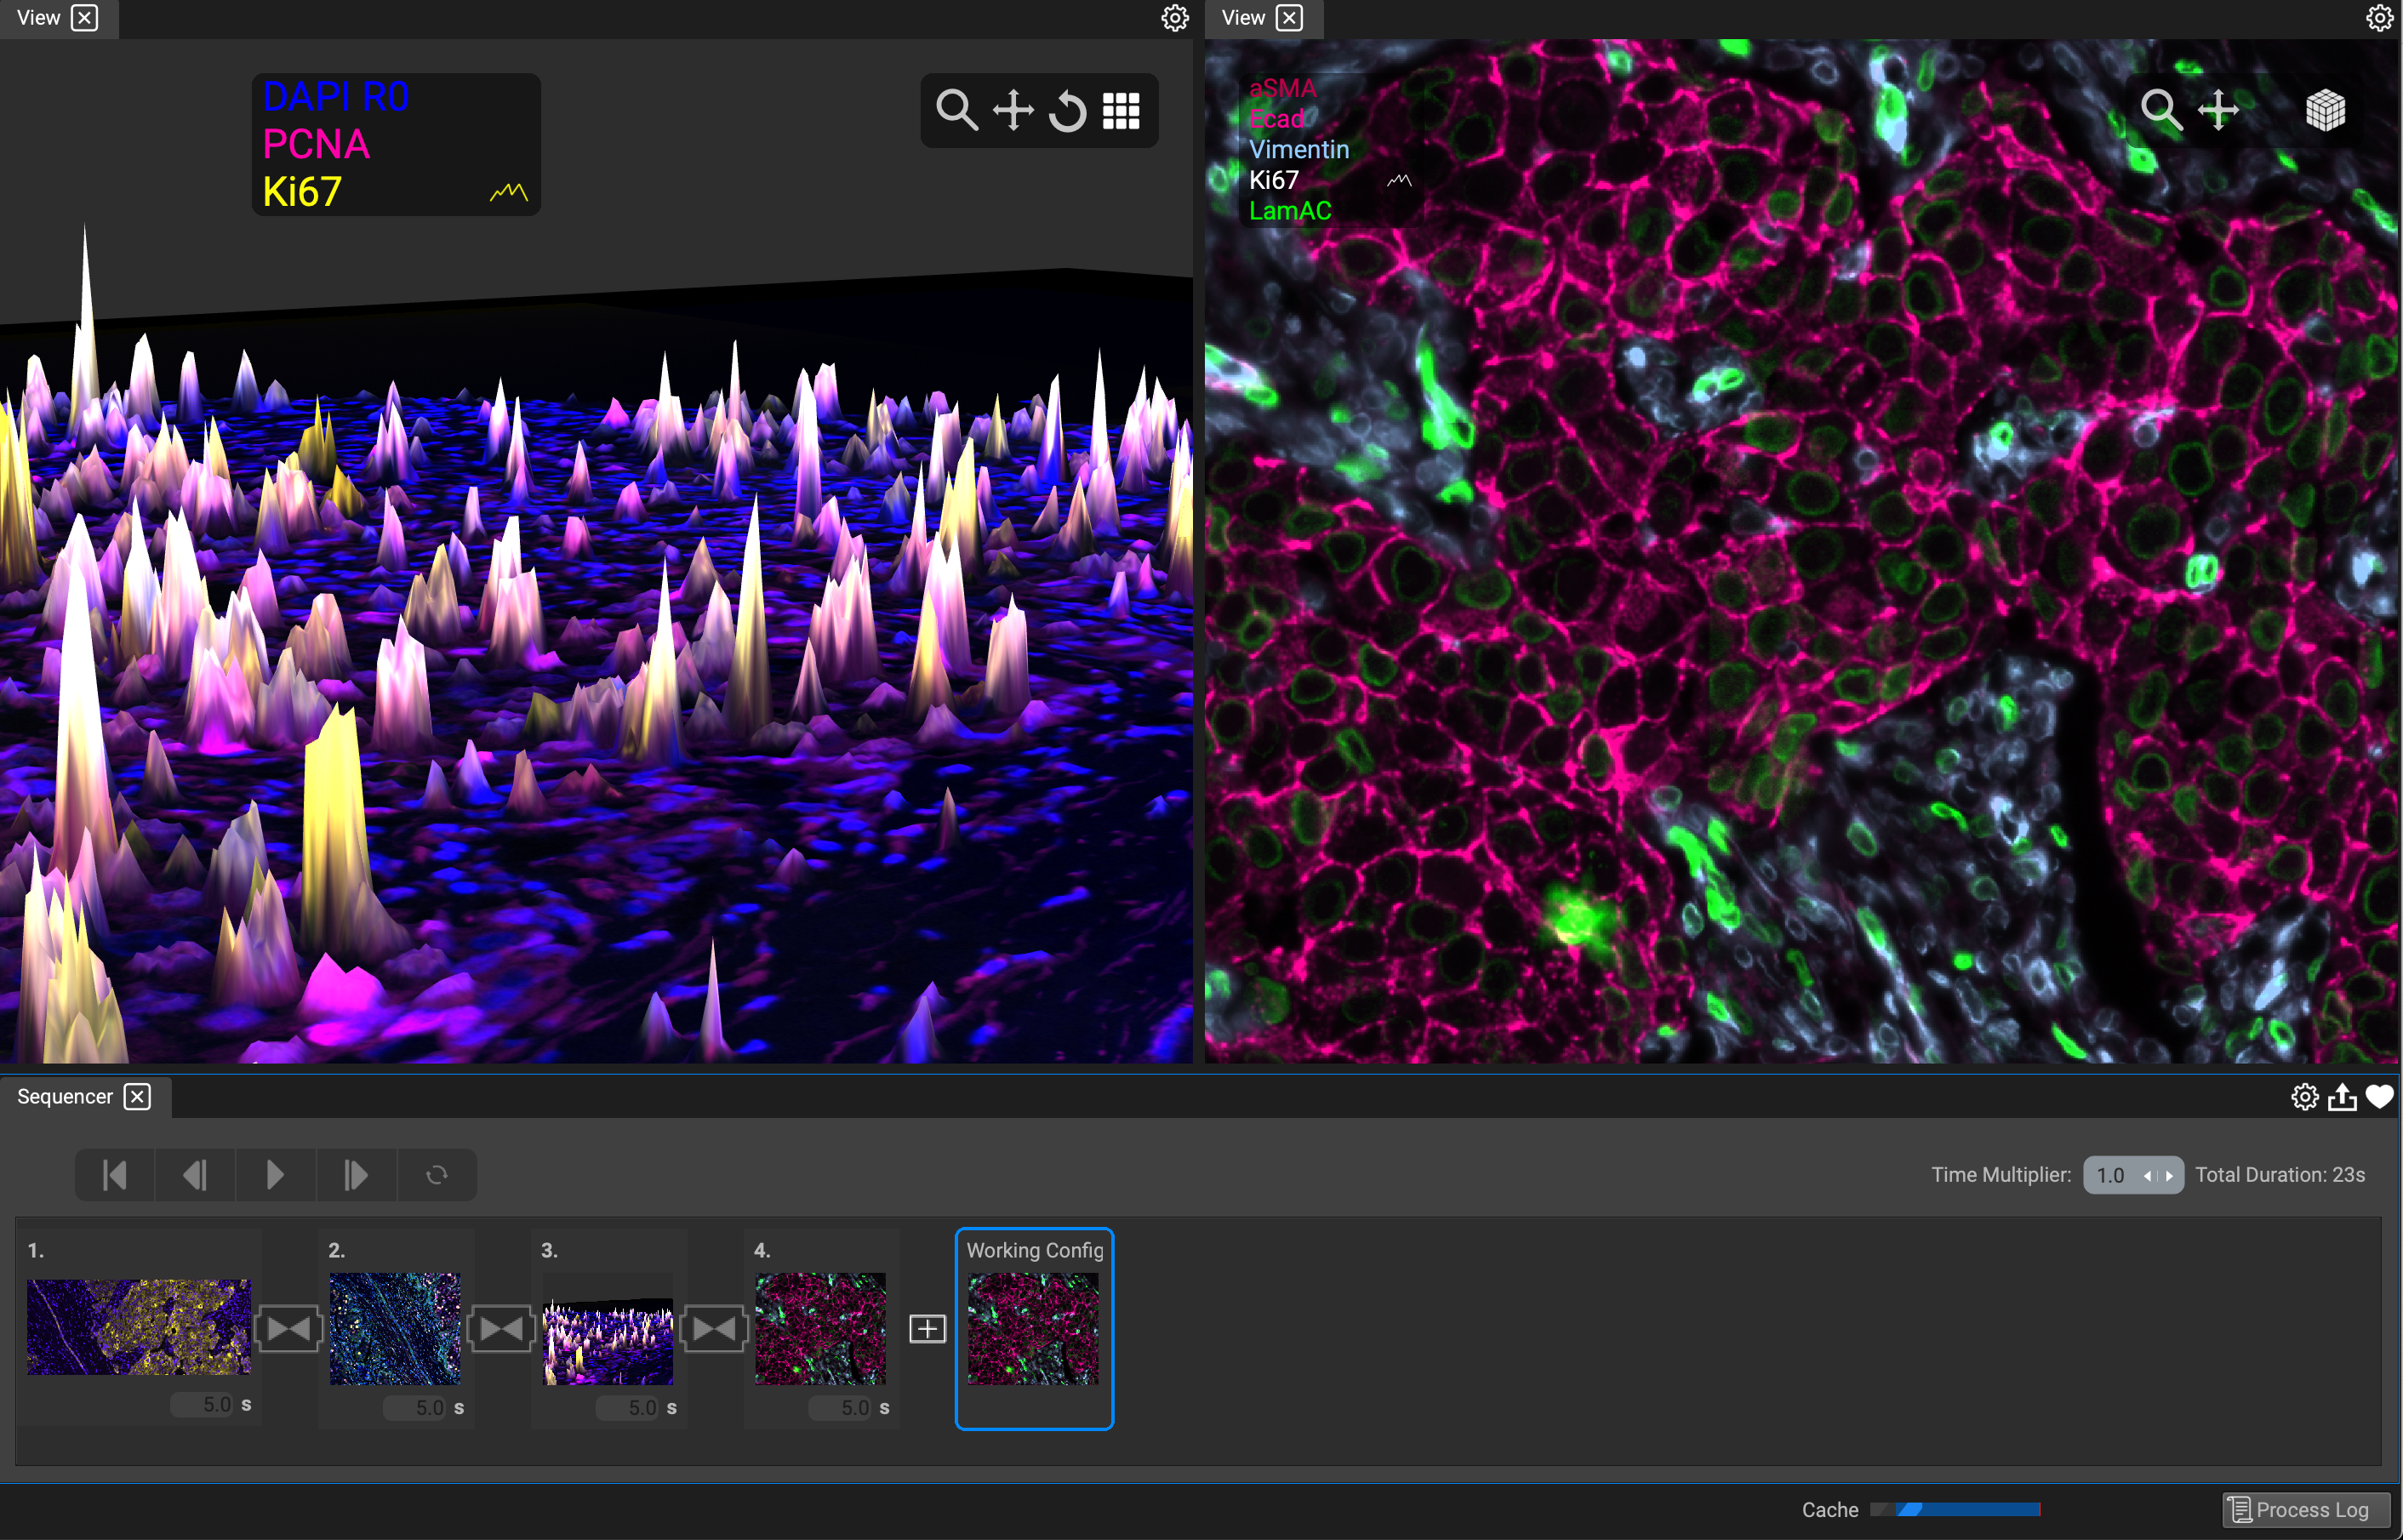
You can split the currently selected Image View either horizontally or vertically by going to the gearwheel on the top right corner of the Image View window. You can do this as many times as you like, and the new Image View will spawn with relation to the one that is currently highlighted. To remove a view, just click the X on the top left of the window.
