Sequencer
The Sequencer displays a collection of keyframes of your colored image channels. You can create a movie or assemble a collection of channel perspectives using the timeline. With dynamic functions, you can create blinking channels, 3D landscapes, and fluid transitions between scenes that let you fly over the tissue. These tools allow for the visualization of many different colors at once.

Create a Scene
To add a scene to the timeline, or create one for the first time, click the + next to the Working Configuration (or active scene).
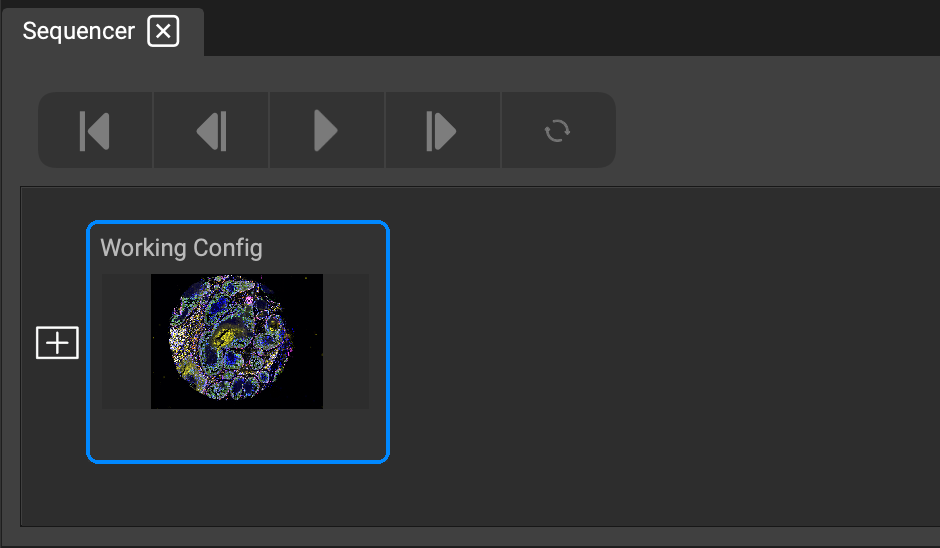
Each newly added scene will appear to the left of your working configuration. As you create different channel configurations, make sure to click the + to save it and add it to the timeline.
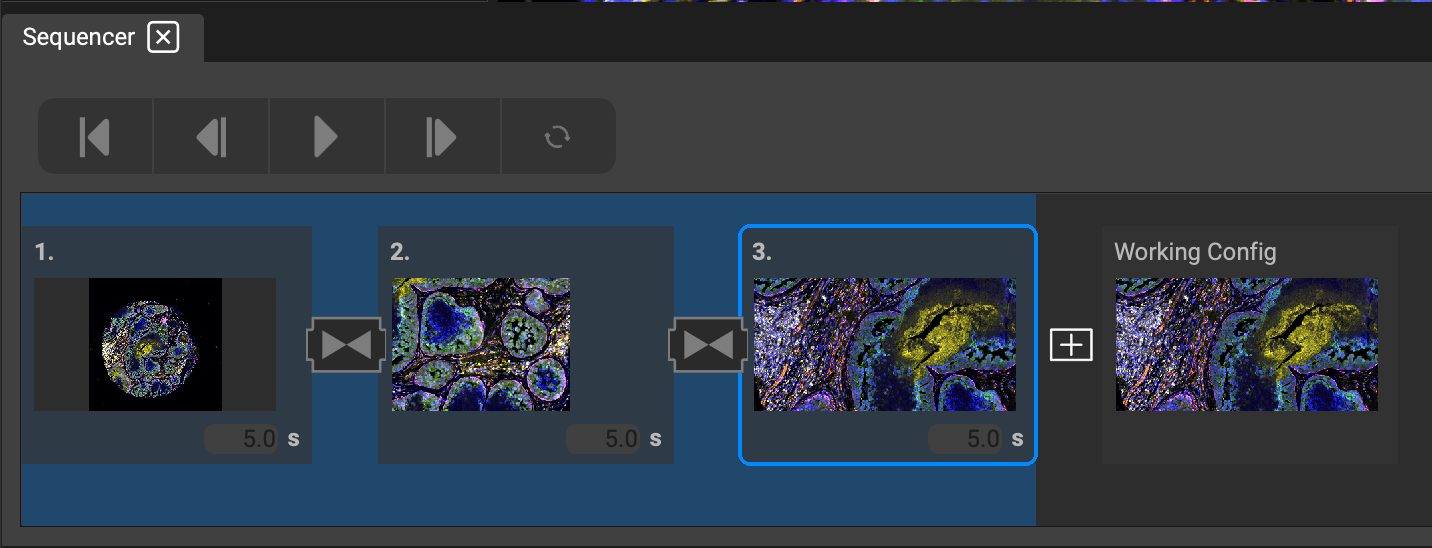
Using the Timeline
Double-click on any scene to view it.
(Note that if you double click the thumbnail for a previous scene, it becomes the active working configuration and reverts any existing progress made within the working configuration.)

- Add a title to the scene by double-clicking above the scene thumbnail (next to the scene number).
- Set the duration of each scene by inputting a numerical value in the seconds box below the thumbnail.
- Adjusting the Time Multiplier can shorten or lengthen the overall duration (default value is set to 1). This is a quick way to set a time limit so that you can reliably produce a movie that will, for example, not exceed a 30 second limit for a presentation.
- Reorder scenes by dragging and dropping into the desired slot.
- Add transitions between scenes for additional effects.
If you made any adjustments to the display or settings for a scene, you can update the scene by right-clicking it and selecting Update.
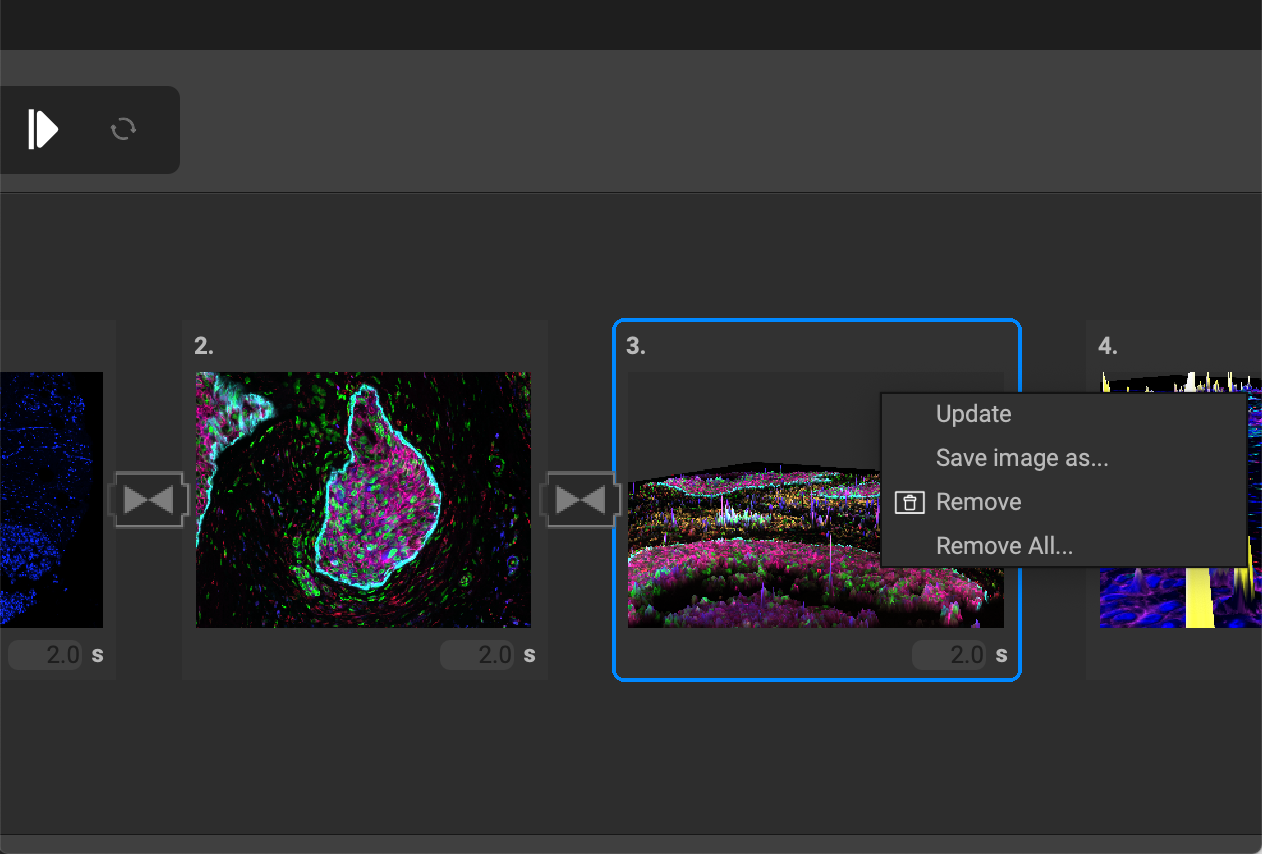
To remove that scene, select remove. If you would like to reset the entire timeline and start anew, select Remove All. You can also save and export a single scene as a png, jpeg, or tiff image.
Playback Options
Preview your movie by utilizing the playback options.

You can play the movie by clicking Start Sequencer Playback.
Select Reset Playback to set the current configuration to scene 1. You can initiate the playback at any scene by having it selected as the working configuration.
Move Back Playback and Forward Sequencer Playback buttons will shift your current working configuration back or forward one scene respectively.
Pause any movie from playing by selecting Stop during play-through.
Toggling the Loop will play the movie consecutively until stopped manually.
Transitions
You can add certain transition effects to your sequencer movie. Click on the double-arrow icon between two scenes to retrieve the transition settings.
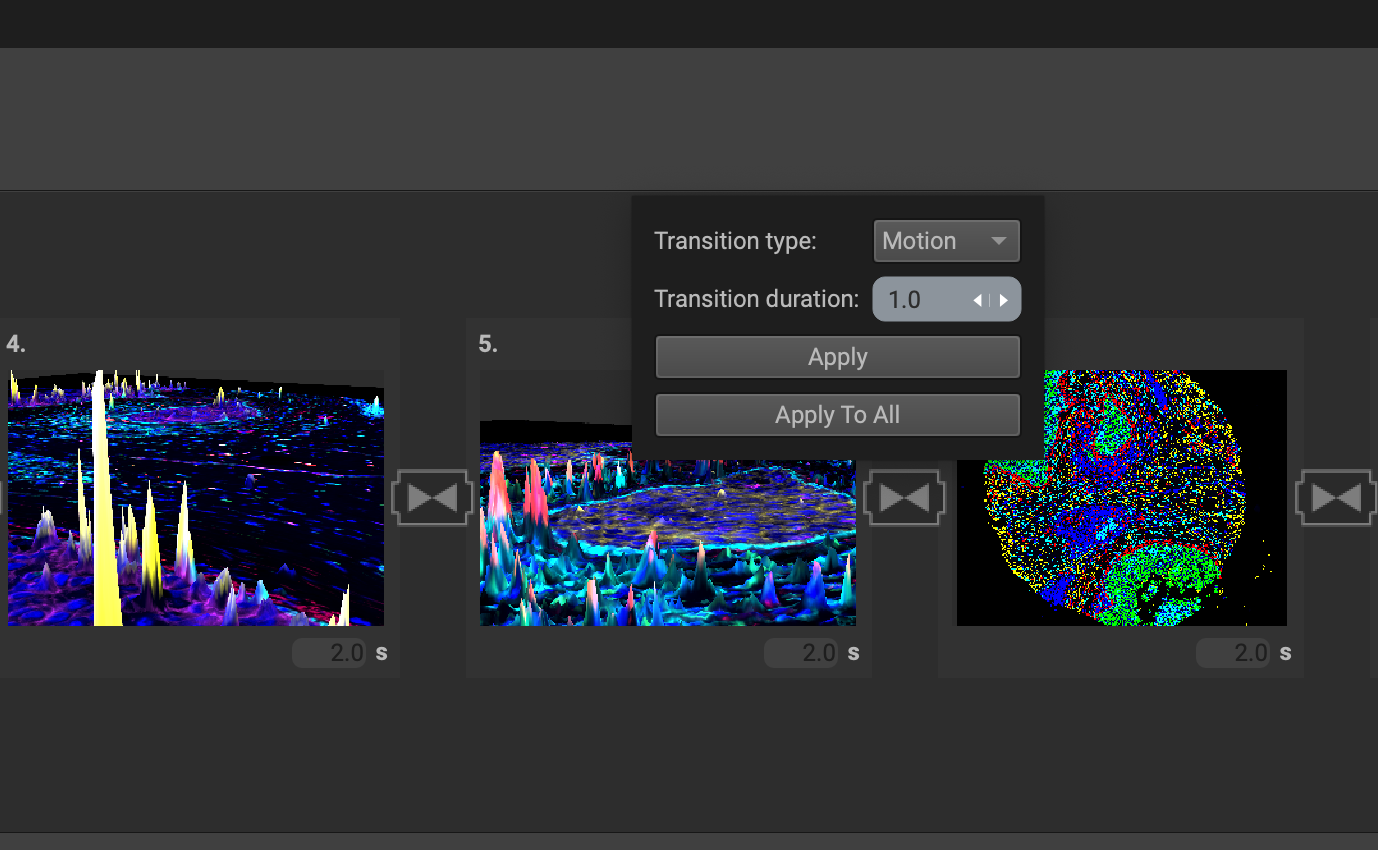
Choose from the transition type dropdown menu to select a transition.
The "Motion" effect will fly over the tissue from one vantage point to the next. The "Dissolve" effect will show gradual overlap between two scenes, from the end of one scene to the beginning of the next.
You can customize the duration of each transition by inputting a value (seconds) in the box.
Select "Apply" to save those settings for the single transition, or "Apply to All" to save them for every transition block.
Demonstrations of the transition effects are shown below:
Sequencer Favorites
You can create a movie using a preset available in the favorites dropdown. Click the heart on the top right to view the list.
All rounds
All z levels
All standard perspectives (from the channels list)
All signaling perspectives (from the channels list)
Tissue loss
All regions of interest
Selecting a preset will quickly fill up the timeline with scenes.
Here is an example of a sequencer movie showing tissue loss over 12 rounds:
Export
Click on the top-right icon to view the export preferences. You can export the scenes as a video, and as high-resolution still images.
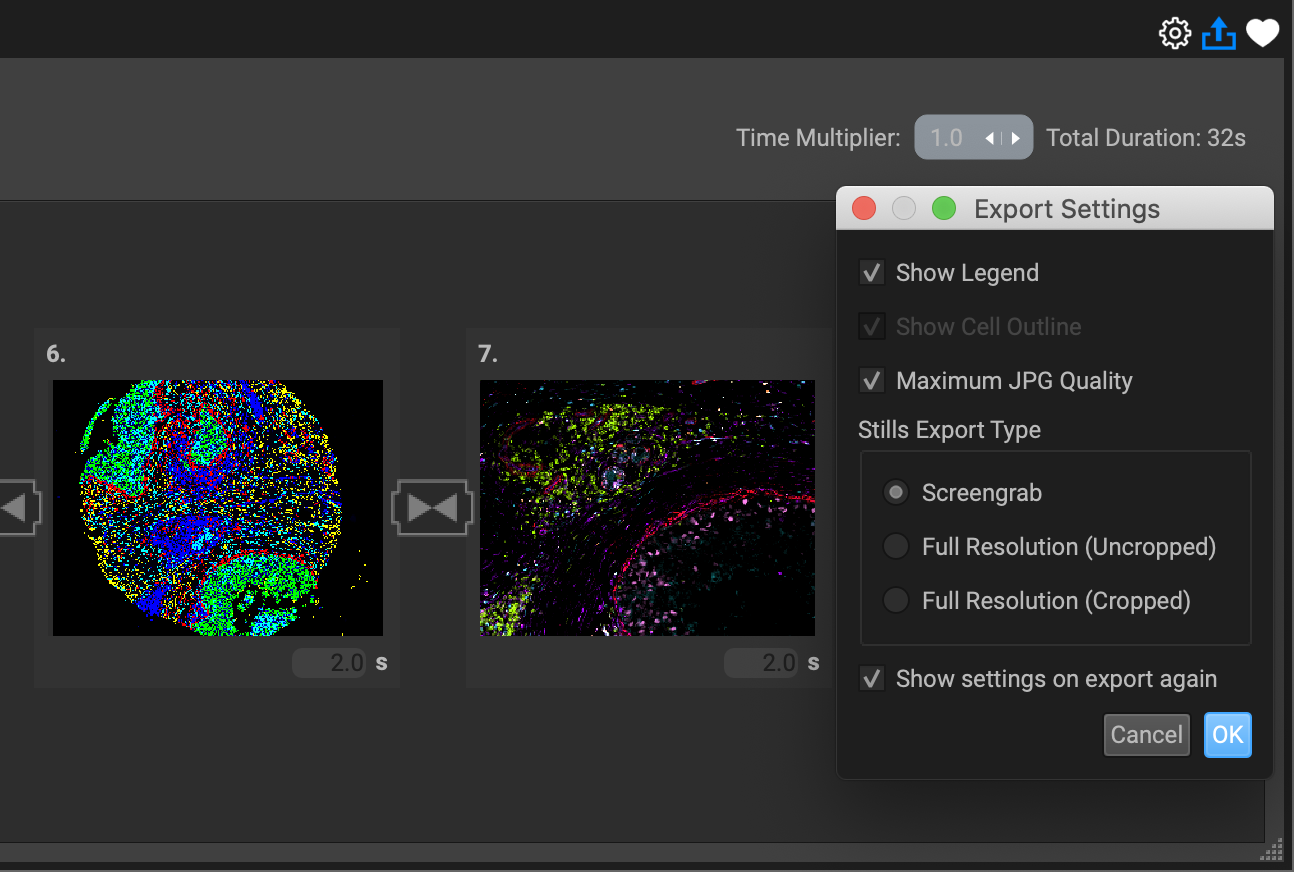
You can choose to display the channel legend or cell outlines in the output movie or images, and also allow the maximum image jpg quality when compressing the images. Having Show settings on export again checked will prompt the same dialog box to confirm the settings again when you export (select Image or Video upon clicking the Export icon.)
When exporting still images, you can choose between a Screengrab (thumbnail view), Full Resolution (Uncropped), or Full Resolution (Cropped). As mentioned earlier, you can export a single scene from the timeline by right-clicking on the scene and selecting "Save image as."
Once the preferences are set to your liking, export the set of images to any directory folder as image files (tiff, jpg, png), or as video files (mp4, avi)

