What is Cyclic Immunofluorescence?
Cyclic Immunofluorescence, or CyclicIF, is a staining method for highly multiplexed immunofluorescence imaging that reuses the same colored channels in multiple cycles of acquisition with different biomarkers each cycle. (Historically this has been known as round, ie. R1, R2, and so on.) The biomarkers and fluorophores can be removed, a new staining reapplied, and then re-imaged. Ultimately, this creates multiple cycles with 2-5 channels each, resulting in a 100+ channel image.
CyclicIF is a new technology, and most microscopes will not have convenient ways to deal with multi-cycle acquisitions. As most early adopters of this technology, we heavily relied on file naming schemes to organize and document details that would preferably be automatic and stored in proper metadata in the files themselves. As time progressed, we adopted many naming schemes from various collaborators to make interpretation of entire datasets easy and automatic.
Ultimately, the solution has become fully automatic, with the Miltenyi MACSima instrument performing entire cyclic acquisition processes (including staining and imaging cycles within the same instrument). With that it also gave us the opportunity to document the entire dataset with all proper metadata. This is much better solution than the fragile approach of stashing important details of your acquisition in a filename.
File Naming Structure
The file name is your opportunity to tell QiTissue whats going on in your experiment: the markers you're looking at, the round each marker is in, and the channel each image was taken in. The format is the round number, followed by the marker names separated by a period, followed by the tissue name. If your tissue is divided into multiple parts, indicate that with a -Scene-1 after the tissue name. It should look something like the following template:
R#_channel2.channel3.channel4.channel5_TissueName-Scene#
The naming structure was designed around 2-5 channel cycles with DAPI (340nm) as the registration channel and 488nm, 555nm, 647nm and 750nm as the marker channels. So Qi assumes that the first channel or the 340 nm channel in a round will be the registration channel, and will name these images DAPI R1, DAPI R2, etcetera. Qi also assumes your autofluorescence images will be named R#_AF488.AF555.AF647.AF750_.
The following are all the file format types QiTissue reads:
Miltenyi MACSima Image Sets
If you are importing Miltenyi MACSima images sets, QiTissue will automatically interpret the files names and all the metadata by the scanning system. (Miltenyi MACSima stores its image data in .OME tiff files.)
Zeiss CZI Format
If you are importing .czi files directly, QiTissue will get the channel information from the metadata. In order to automatically recognize cycles and biomarkers for CyclicIF data, the file naming must follow our structure.
Nikon ND2 Format
If you are importing .ND2, QiTissue will read the image metadata directly, part of the metadata, but you will need to stick with the file naming convention.
TIF Format
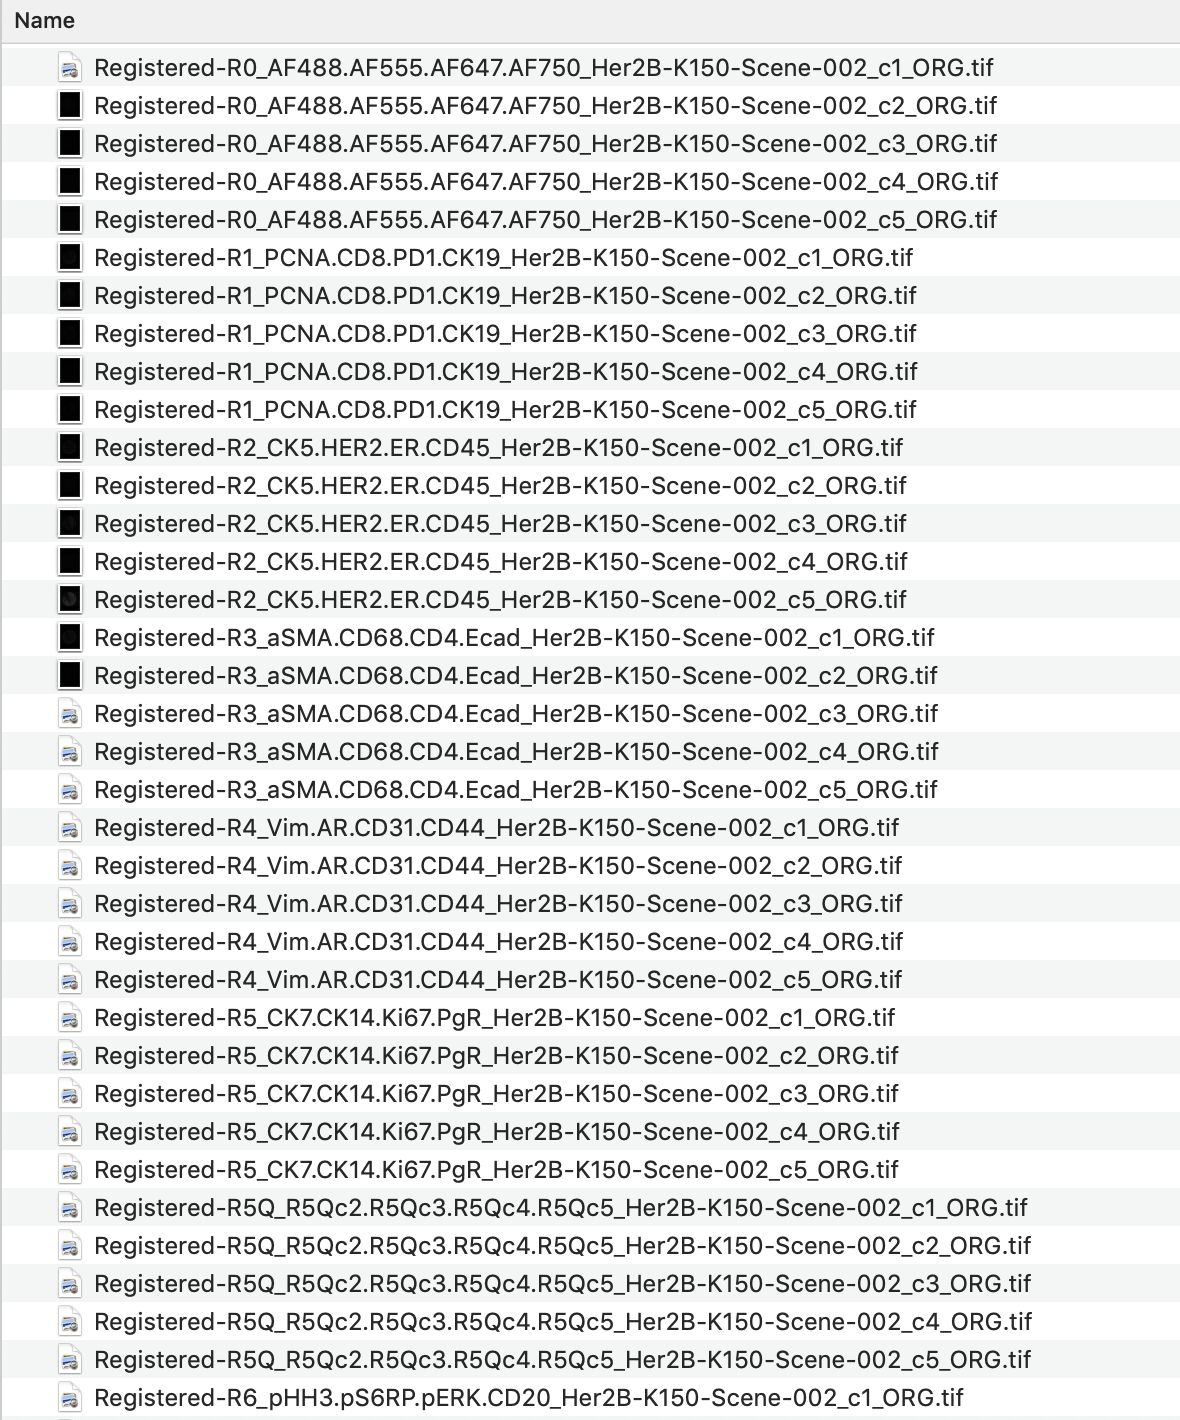
Save all of your images from one tissue in the same folder. QiTissue will recognize the tissue and markers based on the filename. Start with a name for your rounds, like R1. Then include your biomarkers in order. Qi assumes that channel one is the registration channel, typically DAPI, so don't include it in the name. Then add the tissue name. If your tissue is divided into multiple parts, indicate that with a -Scene# after the tissue name.
To indicate the marker and channel for each file, end the name with c#ORG.tif. You can choose to put anything you like after an underscore after the tissue name or scene. It will not be read.
Once finished, it should look something like this:
R#channel2.channel3.channel4.channel5TissueName-Scene#cORG.tif
Create Your Custom Naming Scheme
If for some reason your file-naming is completely different, and you have a lot of legacy files that you don't want to rename, then you have the option to create a simple text file that will guide QiTissue to the right files and channels. Make sure all files that are part of a single dataset are in the same folder and there are no other files in that folder.
The easiest way to create the required text file is by loading a file from the set using the Project Browser. Then go to the Cyclic IF dropdown menu > Create example Qi pattern file. A breakdown of your file names and what Qi is seeing will appear in the Process Log:
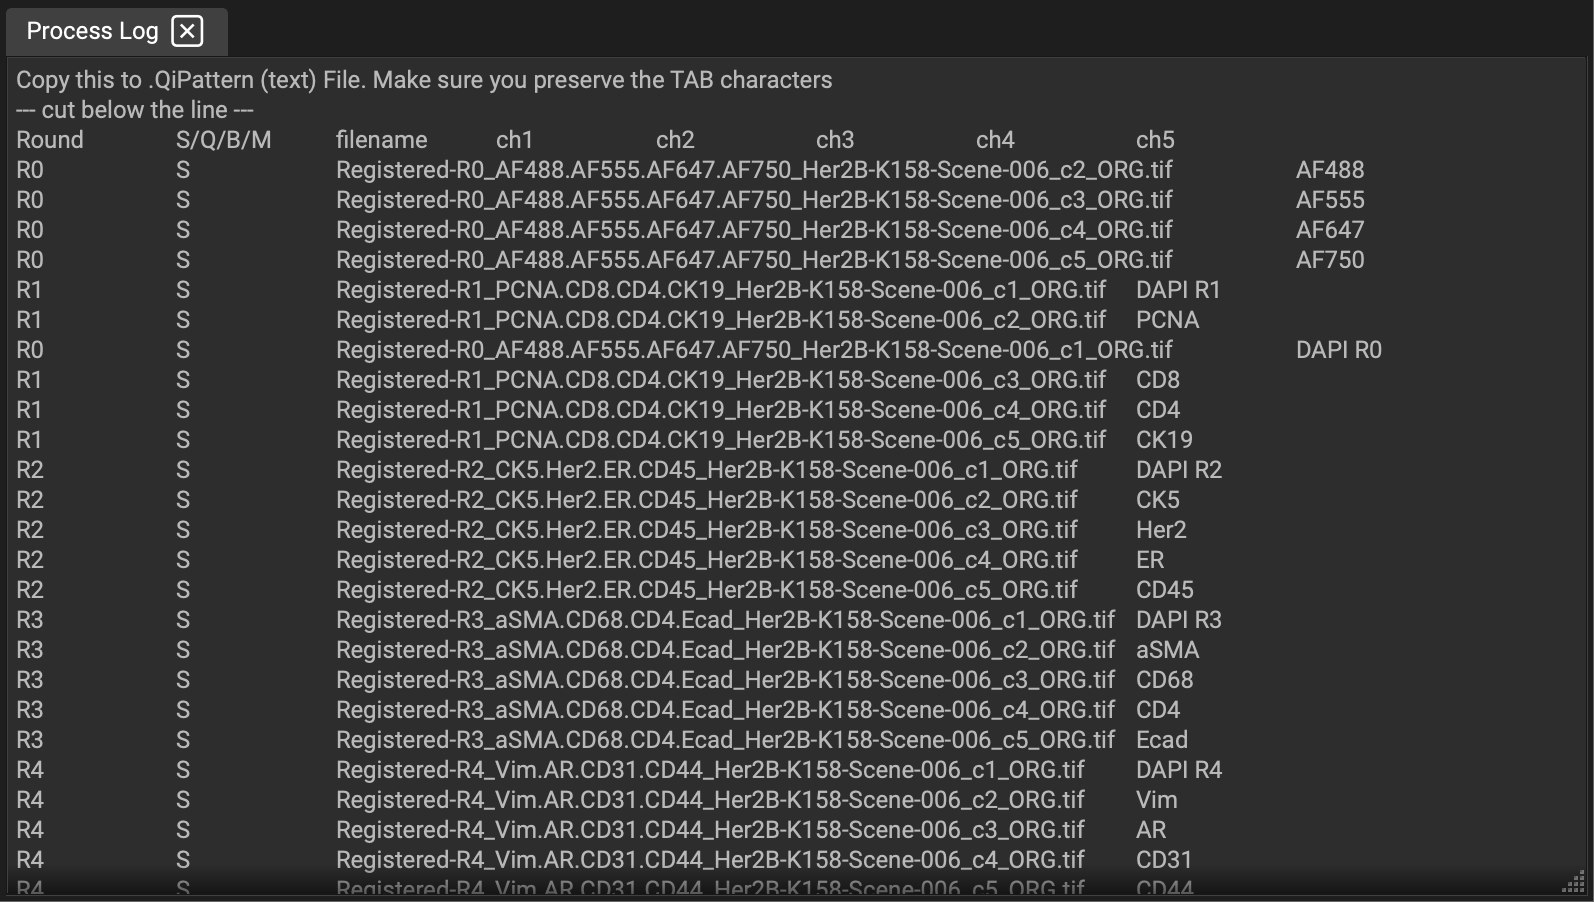
Copy the section below the "--- cut below the line ---" line and create a text file called <name>.qipattern in the same folder as your image files. Replace <name> with a name of your choosing and edit the file to match the rounds, channels, image file names, and biomarker names in your data set. Make sure to use TAB characters between the fields. The value in the 2nd column should typically be S for Signal. The values Q (for Quenched), B (for Background), and M (for Melted) can be used when you have such channels in your file set. When QiTissue encounters such a file, it will use <name> to name the data set and it will properly assign the provided biomarker names and rounds information to each of the channels in the image files in that folder.
Unique naming cases:
Ly6C.tif (simple single channel .tif files where the filename is the biomarker name, and 1 channel per tif file.)
Single OME tif with all channels in 1 file. Must have proper metadata to identify each channel.
Useable TIF filename exported by Zeiss Zen software: